Using Duct Tape for Wart Removal: A Step-by-Step Guide

At Fall Creek Skin and Health Clinic, we understand that warts can be both unsightly and uncomfortable. While there are numerous treatments available, you may be surprised to learn that one innovative method involves something as simple as duct tape. This household staple can be an effective way to remove warts, and in this post, we’ll guide you through the process step by step.
What are Warts?
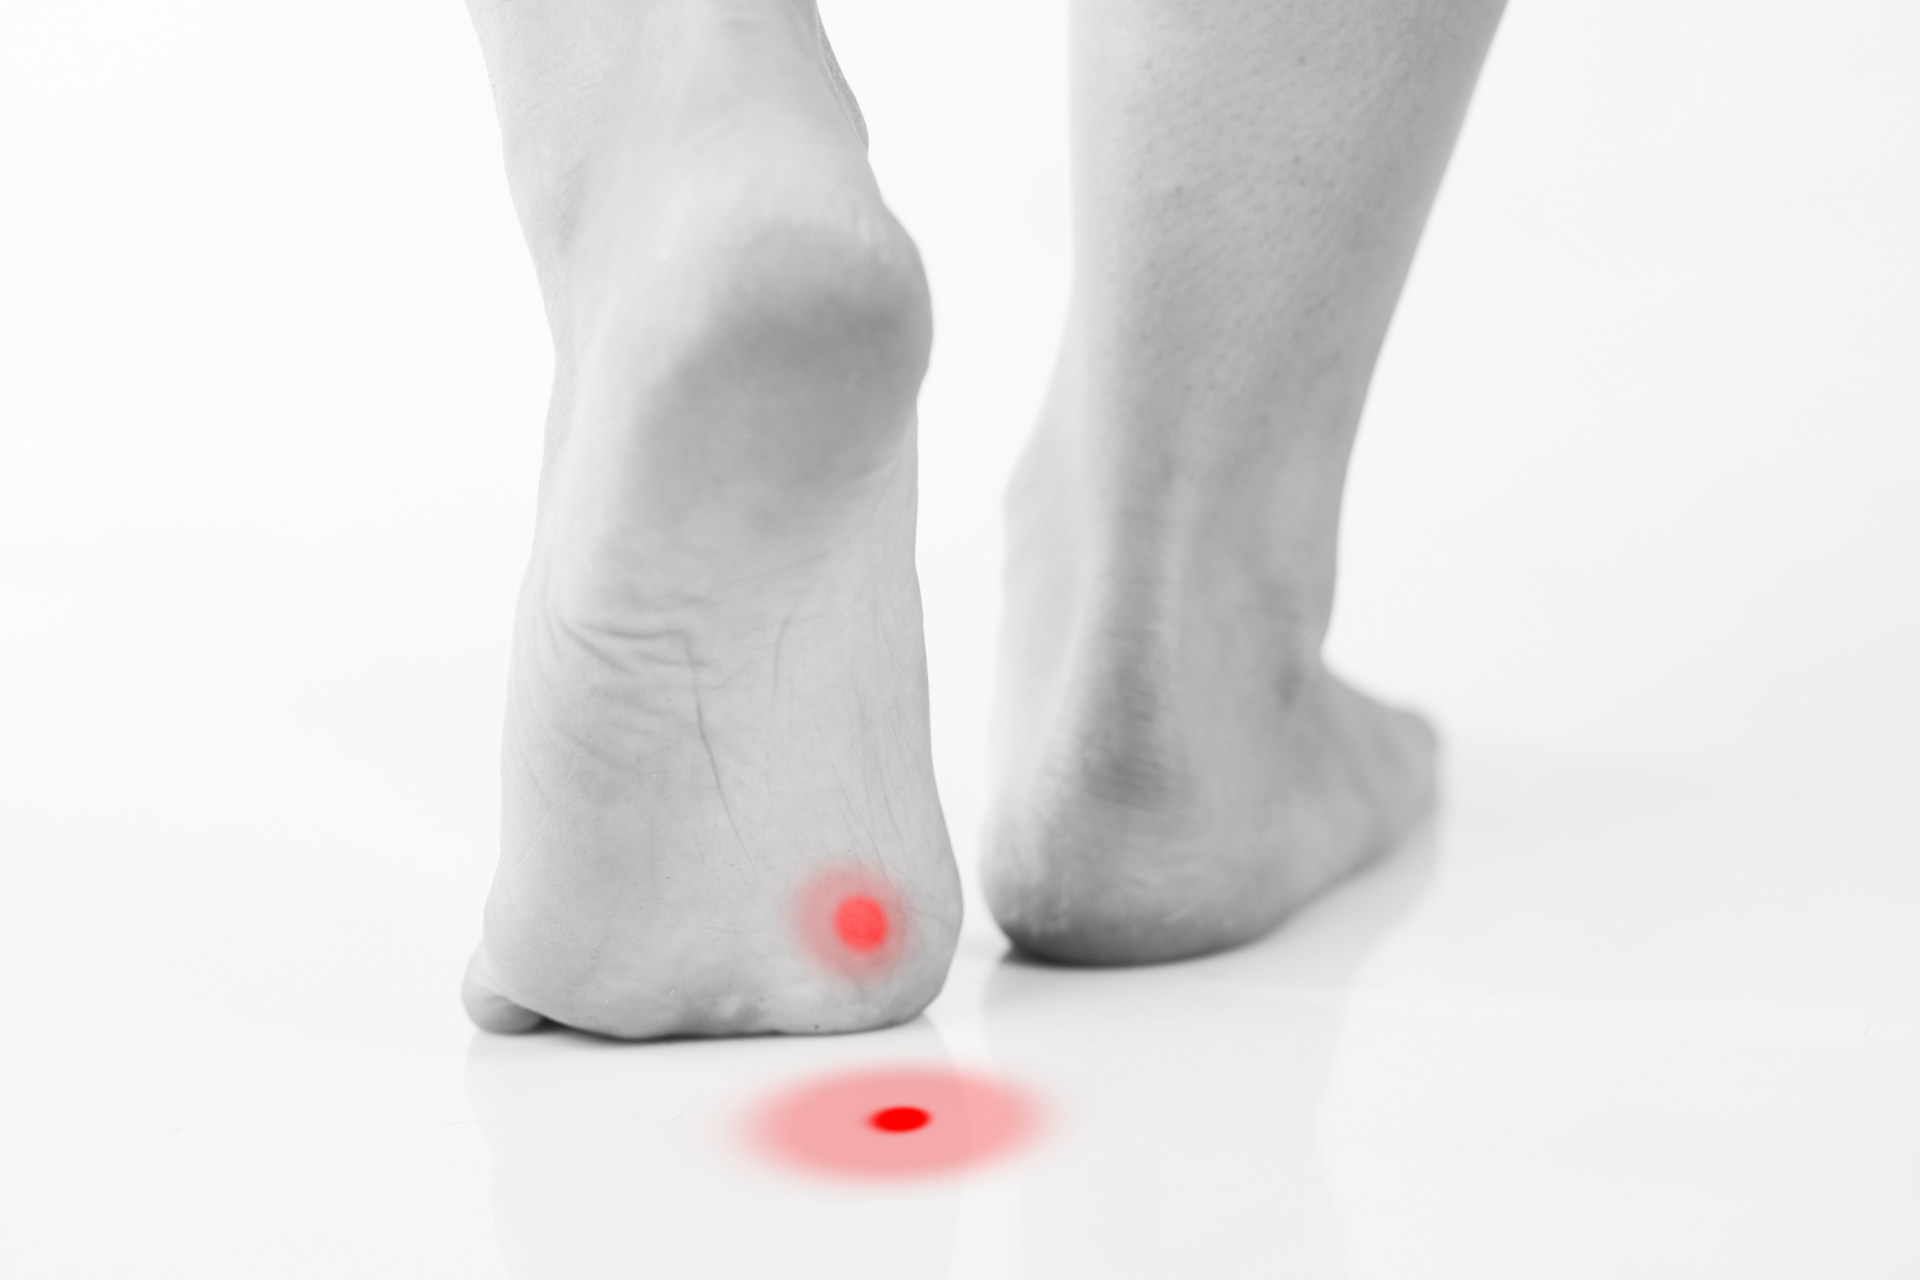
Warts are benign growths caused by the human papillomavirus (HPV) and can appear anywhere on the body. They’re common among people of all ages and can often resolve on their own. However, many seek treatment for aesthetic reasons or discomfort. Traditional treatments include cryotherapy, salicylic acid applications, and even surgical removal. An alternative approach is using duct tape, which has garnered attention for its potential effectiveness in wart removal.
Why Duct Tape?
The theory behind using duct tape for wart removal is simple. By covering the wart with duct tape, you create a moist environment that may help to suffocate the virus and peel off the wart over time. Plus, duct tape is readily accessible and inexpensive, making it a popular DIY solution.
Step-by-Step Guide
Step 1: Gather Your Materials
To begin, you’ll need a few supplies:
- A piece of duct tape (preferably the standard kind, not decorative tape)
- Scissors
- Soap and water for cleaning
- A nail file or emery board (optional)
Step 2: Clean the Area
Before applying the duct tape, wash the affected area thoroughly with soap and water. Dry it completely. This step helps to remove any oils or dirt that might inhibit the tape’s adherence.
Step 3: Prepare Your Duct Tape
Cut a piece of duct tape large enough to cover the wart completely. If your wart is particularly large, you may want to use a few layers of tape for better coverage.
Step 4: Apply the Tape
Carefully place the duct tape directly over the wart, ensuring that it is completely covered. Press down firmly to make sure that the tape adheres well to the skin. The goal is to trap moisture while blocking air from reaching the wart.
Step 5: Leave it On
Keep the duct tape on continuously for six days. If the tape starts to come loose, replace it with a new piece as soon as possible. If you feel any irritation or discomfort, you may peel the tape off, but it’s generally best to keep it on for the full duration unless there are adverse effects.
Step 6: Remove the Tape
After six days, carefully remove the duct tape. You may notice that the wart appears whiter and softer. Using a nail file or emery board, gently file down the wart surface.
Step 7: Inspect and Repeat
If the wart is not gone, you can repeat the process. Reapply a fresh piece of duct tape for an additional six days. It may take several cycles for complete removal, so patience is key.
Final Thoughts
While using duct tape for wart removal can be a handy and effective method, it may not work for everyone. If you find that your wart persists or if you experience pain or significant irritation, it’s essential to consult a healthcare professional. At Fall Creek Skin and Health Clinic, our experienced practitioners can guide you to the most effective treatment for your skin-related concerns. Remember, healthy skin is happy skin!


